Tuesday, September 28, 2010

Littlest Angel Swirlydoos Mon Amour sketch and kit

Hi everyone!  Sorry for taking so long to post this layout! Thanks for being patient! For some reason I tend to put off updating my blog!  Not good!

This is the sketch by Beggahuna that we got with the Sept kit from Swirlydoos. She always has such beautiful sketches!


Click to view full size image

Here is my take on the sketch.  This layout, ' Littlest Angel' features my great niece Nila, she is a few years older now, but still just as adorable.  Her mom did a photo shoot with her in Angel wings.  It is hard to see in these photos, so you will have to take my word for it! ;) 

In the kit we got a sweet paper doily.  I decided to use the backside of it as a mask, and used a number of Shimmer spritz's, and some distress ink. It was a neat way to incorporate the circle from the sketch.  I cut down the background paper that I misted and water distressed it and inked it as well. For some added detail, I ripped the corner of the paper and curled the edges and put some pattern paper behind it and used some brads to accentuate it.  For the black cardstock underneath, I used one of my MS Punch around The Border punches along the top and down the right hand side.


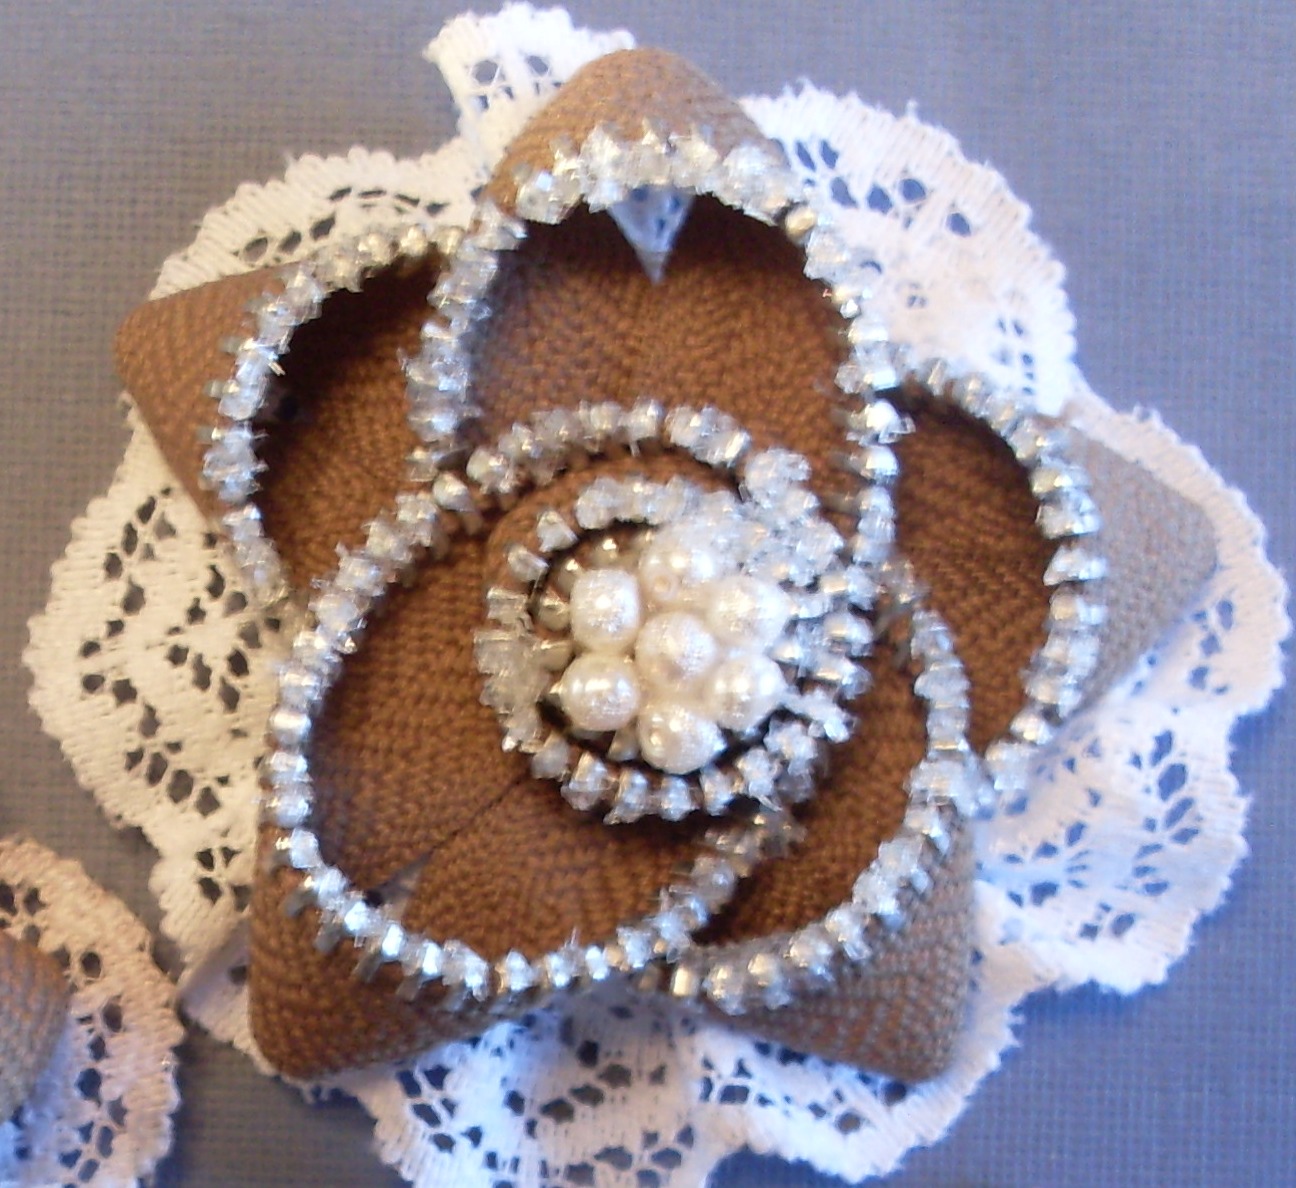
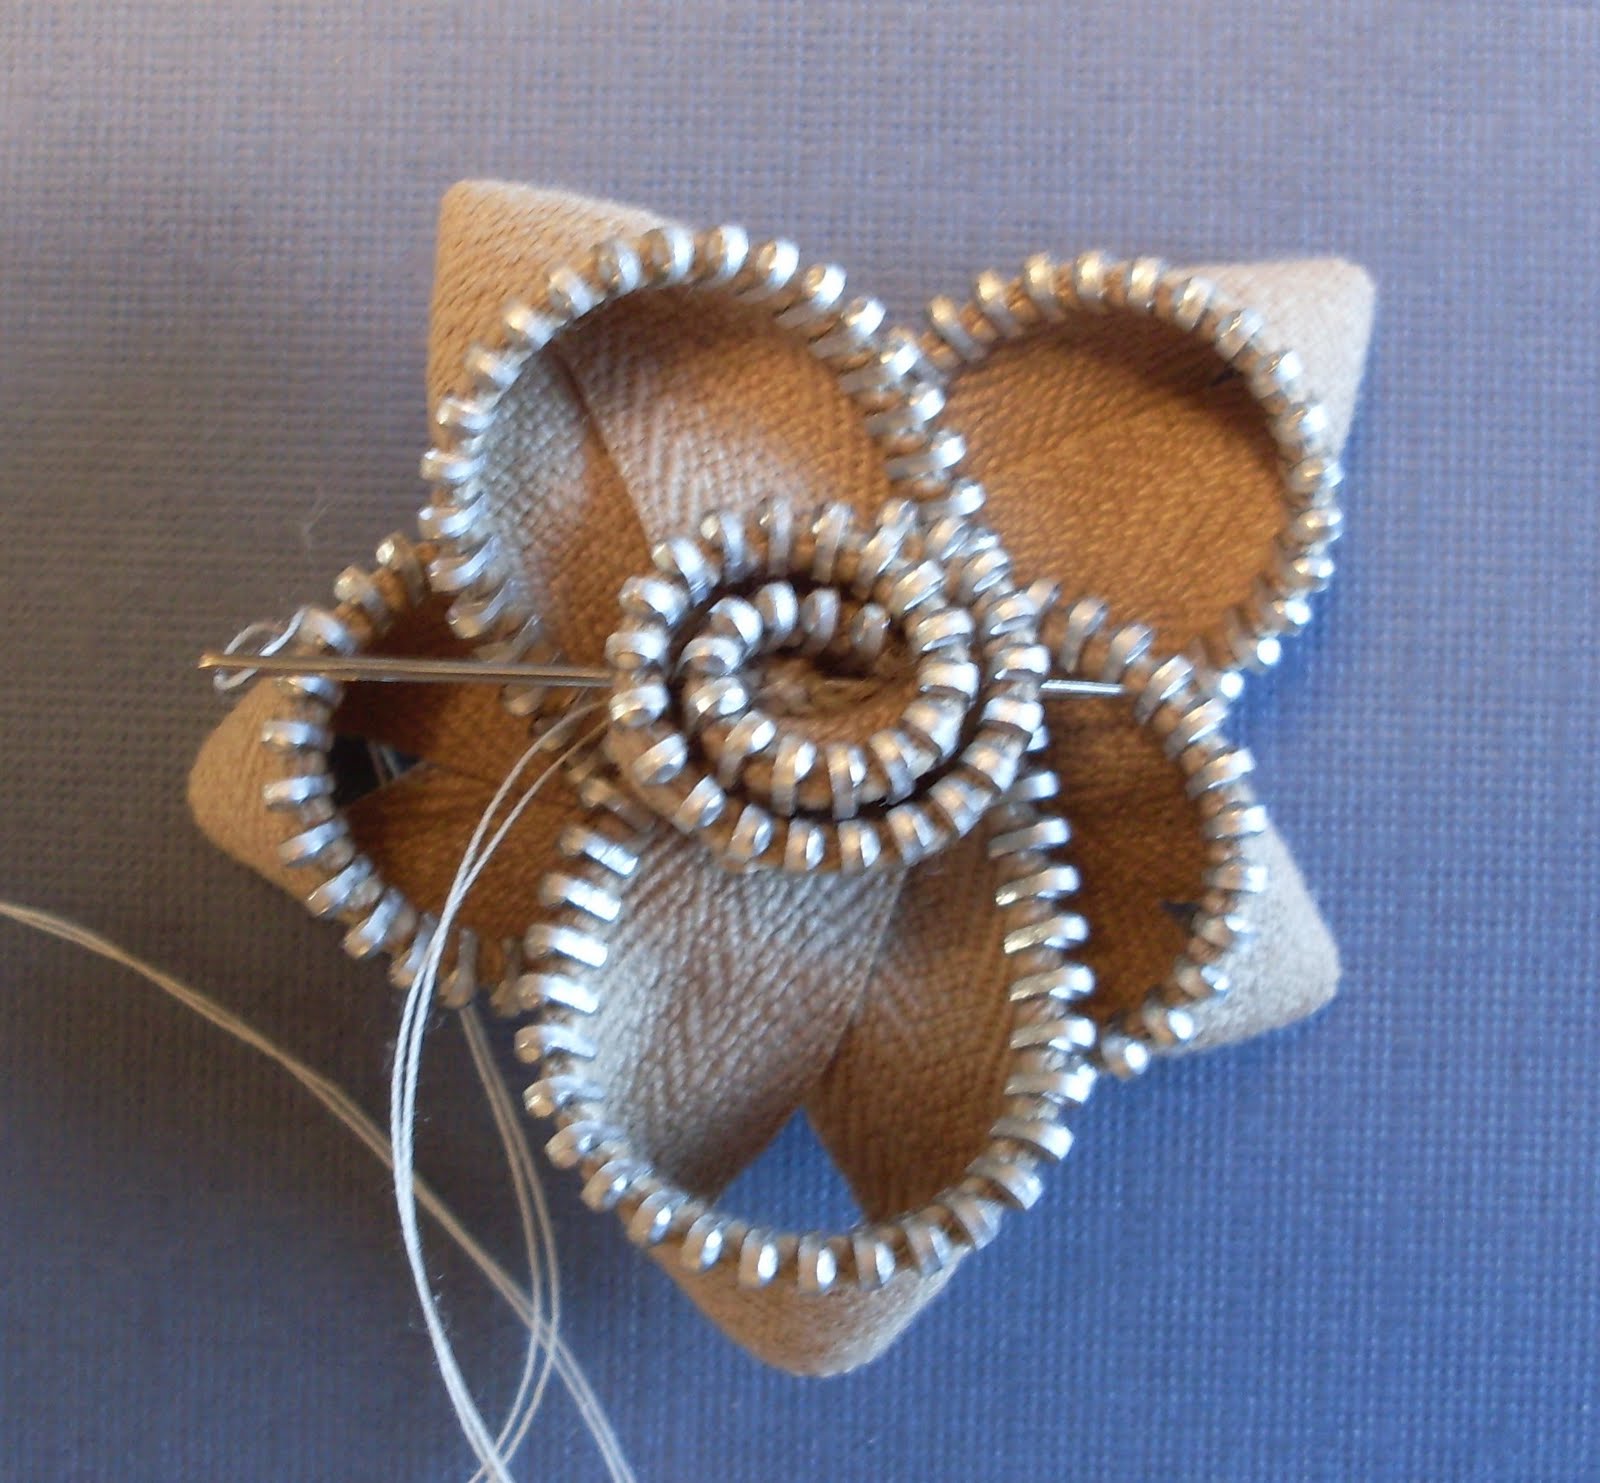
I used a large red Prima flower from a previous kit as the base for my zipper flower and stuck a black feather behind it.


I made some red butterflies.  I had cut these ones out with my Crciut/Gypsy a while back from white card stock but hadn't used them yet.  I took some red Distress Ink and inked them and them embossed them with clear embossing powder and added some cyrstals for the bodies.


Here you can see that I heavily distressed the photos.  First, I took sandpaper to them, then added a very light touch of red distress ink, a bit more sanding and then Vintage Photo distress ink on the edges.


I also hand made these other flowers, using my daisy punches, and took a hole punch  to the red ones to add more detail and help with the destressed look.  The black rose buds I made using my small daisy punch.


This gorgeous black scroll came from Nicole Lombardo.  Make sure you check out her Etsy store  as she as lovely stuff and very resonable priced, and shipping too!


Thank you so much for dropping in! Please leave your comments as I always loving hearing what you  have to say!  Be blessed!

Wednesday, September 22, 2010

Zipper Flower Tutorial


Supplies needed:

Scissors                             button or pearl embellishment for flower center.
Needle
Thread
Zipper- size varies on the size of flower you want to make.  This zipper is approx 26”. The metal teeth zippers work the best as they are stiffer, but the nylon ones work as well for smaller or less structured looking flowers.


Cut the Top Stop and the Bottom Stop off the zipper and slide off the zipper Pull, separating the zipper into 2 parts. Set aside on half for a different project.


Keep in mind that I am left handed, so, if you are right handed you will probably be folding your zipper the opposite direction.

Take one end of the zipper in your hand and make a loop/petal, making sure that the teeth of the zipper is always on the outside of the loop. The size of the loop will depend on how big you want your entire flower to be, and the length of your zipper.  Take your needle and thread [double for added strength] and come up from underneath through all layers and back down to secure.


Continue making loops/petals and securing until you have completed 5 loops.


This is what it should look like when all five petals are done.  You should have a tail of zipper left over that is approximately 4 inches long.


Now take the remaining zipper and from the open end, roll it up like shown in the photo and set it into the middle of the loops/petals.


Take your needle up through the bottom of flower and through the side of the rolled up center and out the other side, and back down to the underside of the flower.  Do this several times to secure.

Now you have completed the main structure of the flower and you can leave as is, or embellish it the way you like!


Here are some that I made, and embellished.  The flower I made for my layout “simple pleasures” is embellished with lace,  Diamond Dust on the teeth, and glittered pearls for the center.  This Tutorial is for sharing and everyone to try!  If you make one, I'd sure like to see it!

Simple Pleasures - The full meal deal!


This layout was inspired  by the photo of my Mother in Law, at the age of 26, taken in 1946.  If you do the math, you will know that she is now 90! She is an inspiration!  The design was inspired by a sketch I found by Tanya Leigh Designs.  I usually stick pretty close to the sketches I follow.

I used pattern paper from IOD {Iron Orchid Designs] and distressed the edges with my Zutter Distrezzer , Ranger Distress ink and water. I used Bazzill Cardstock as the base of the layout and to mat my photo.  To create the Lacey ruffle around the cardstock frame I used one of my Martha Stewart border punches and punched out strips of paper and attached it to the back side of the cardstock. I  found some great pearl ribbon at my local thrift store and used that to finish of the frame for the photo.


 I used my Cricut to cut out the leaves from white cardstock and I used distress inks to bring them to life.  The title is  made from glitter alpha stickers by Creative Imaginations.


The vintage style lamp post is a laser cut chipboard by Dusty Attics.  They have amazingly detailed chipboard embellishments!  I used Ranger Distress Embossing Powder and a touch of Ranger Distress Stickles to help age the lamp post.  The butterfly was stamped with a Martha Stewart stamp, distress ink and finished with a thick layer of Ranger Distress Crackle Paint in Rock Candy. I finished off the butterfly bodies with half pearls.


I used a frosted string of pearls as a butterfly trail, wrapping up and around the lamp post. I hand made the pink paper flowers, and also hand made the brown flower from a zipper and lace.  I have made up a tutorial of the zipper flower to share with you all!


I used Journaling stickers by IOD Beloved line for the hidden journalling.  Journalling reads " This is Mary Klassen, my MIL at the age of 26. She is sitting in front of St. Pauls Hospital in Saskatoon, Sask, Canada , Where she was working before marriage."


I used a piece of shear pink ribbon to tie the key and the pink heart together, and used an Artisan Elements frame by Pink Paislee to put the name and date on to.

I hope you enjoyed looking at my layout as much as I enjoyed making it!

Thursday, September 16, 2010

Featured Artist, SNR and Simple Pleasures

My FA layout/tutorial as been published and you can find it here for now!  Here is a photo of the layout, and I will share more details and the tutorial here on my blog a little later.


Thanks for looking!

Tuesday, September 14, 2010

Big day Tomorrow!

Tomorrow is my big debut as Featured Artist over at Scrapbooking and Review on their Home page!  I'm so excited to share with you all what I created, and share the very unique flower tutorial with you all! Plus! Its also my dad's birthday that day!  My sister and I will be going out for supper with him and spend our weekly tv night with him watching the new Survivor series in Nicaragua!  I will be posting my layout and tutorial on here as soon as I can!

Monday, September 13, 2010

A Prima Idea Book?


Introducing the FIRST ever, Prima Marketing Idea Book. 
540081_1_10 
18 Artists from all around the WORLD. 
Over 130 projects. 
One BRAND. 
Item # 540081. 
Get your copy now before they are gone! 
  P09 
Here's a sample page from the book showing a full project image, tips & techniques, and shots of the products used!

Primaprojects2 023
Here's a gorgeous close-up of a project by Cari shown in our new book using felt gates, pearl swirls and loads of Prima flowers.

Dreambig-card
Any card makers out there? We have loads of cards in the book too! This sweet card uses glitter paper behind the flocked transparency and includes stamping and embossing. Did we mention that there are TONS of cool techniques in this book?


To kick the "Prima 2010 Idea Book" off we have a free copy to give away! Here's what you have to do for a chance to win:
  • Repost this information on your blog, Facebook wall, or any other site (allowed by the site's TOU.) 
  • Include the link to your post in the comment section below. 
  • We will pick a lucky winner next Tuesday, September 21st!
  • Open to all countries.